
These are our easy how-to instructions for making your own shower curtain with a custom cornice board in any fabric you love!
This is the before look of the bathroom at our little condo in Atlanta. Pretty Plain Jane, and I wanted to dress it up without much investment. A DIY shower curtain and cornice board maybe?

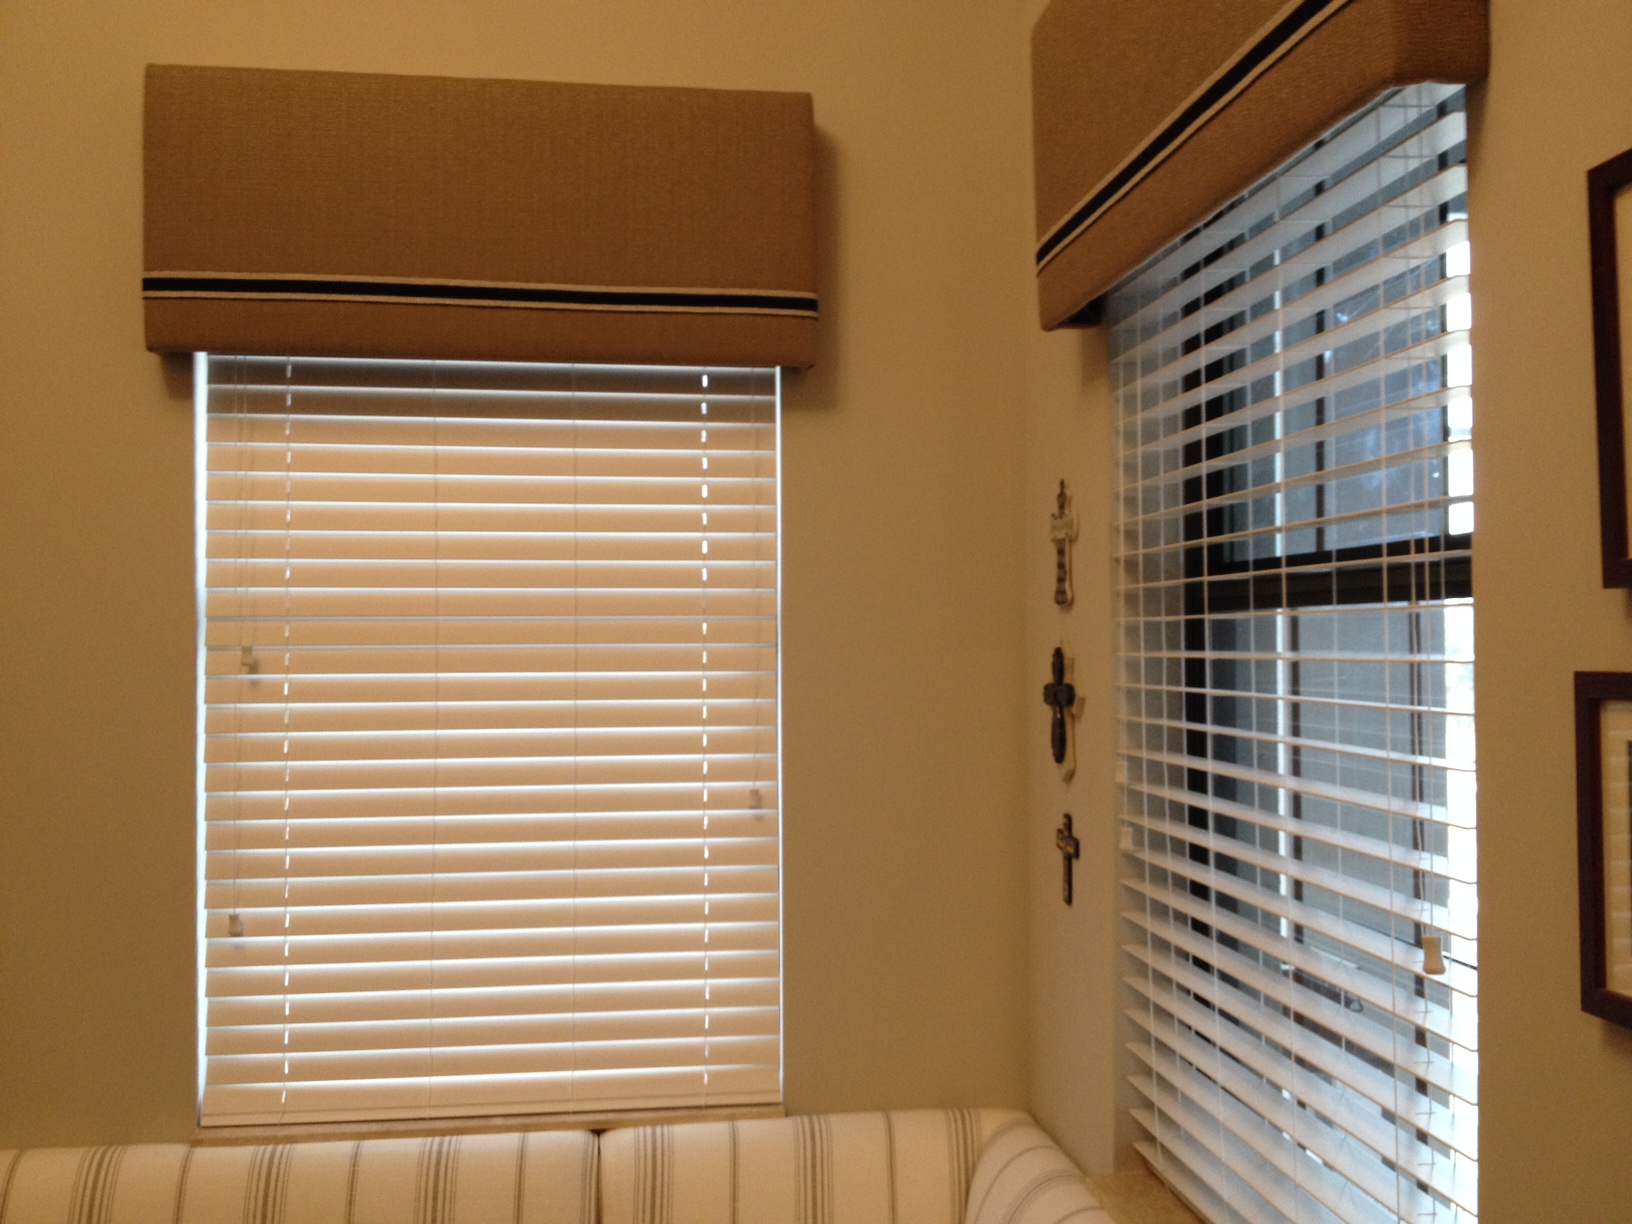
I was inspired by my sister-in-law Susan's recent DIY cornice project in her breakfast/banquette area and thought I would give it a try. This is what she ended up with, and I thought they had quite the professional look.
This post contains affiliate links for your convenience. Click here to read our full disclosure policy.
Susan used foam insulation board for hers but the board was so big she had to get them cut at the store to fit in her car. Having seen a couple of blog posts that used the foam core board you find at hobby stores I decided to give that a try. I haven't seen anyone else mention the thickness of the board they used, but I used ½". Order on Amazon here.
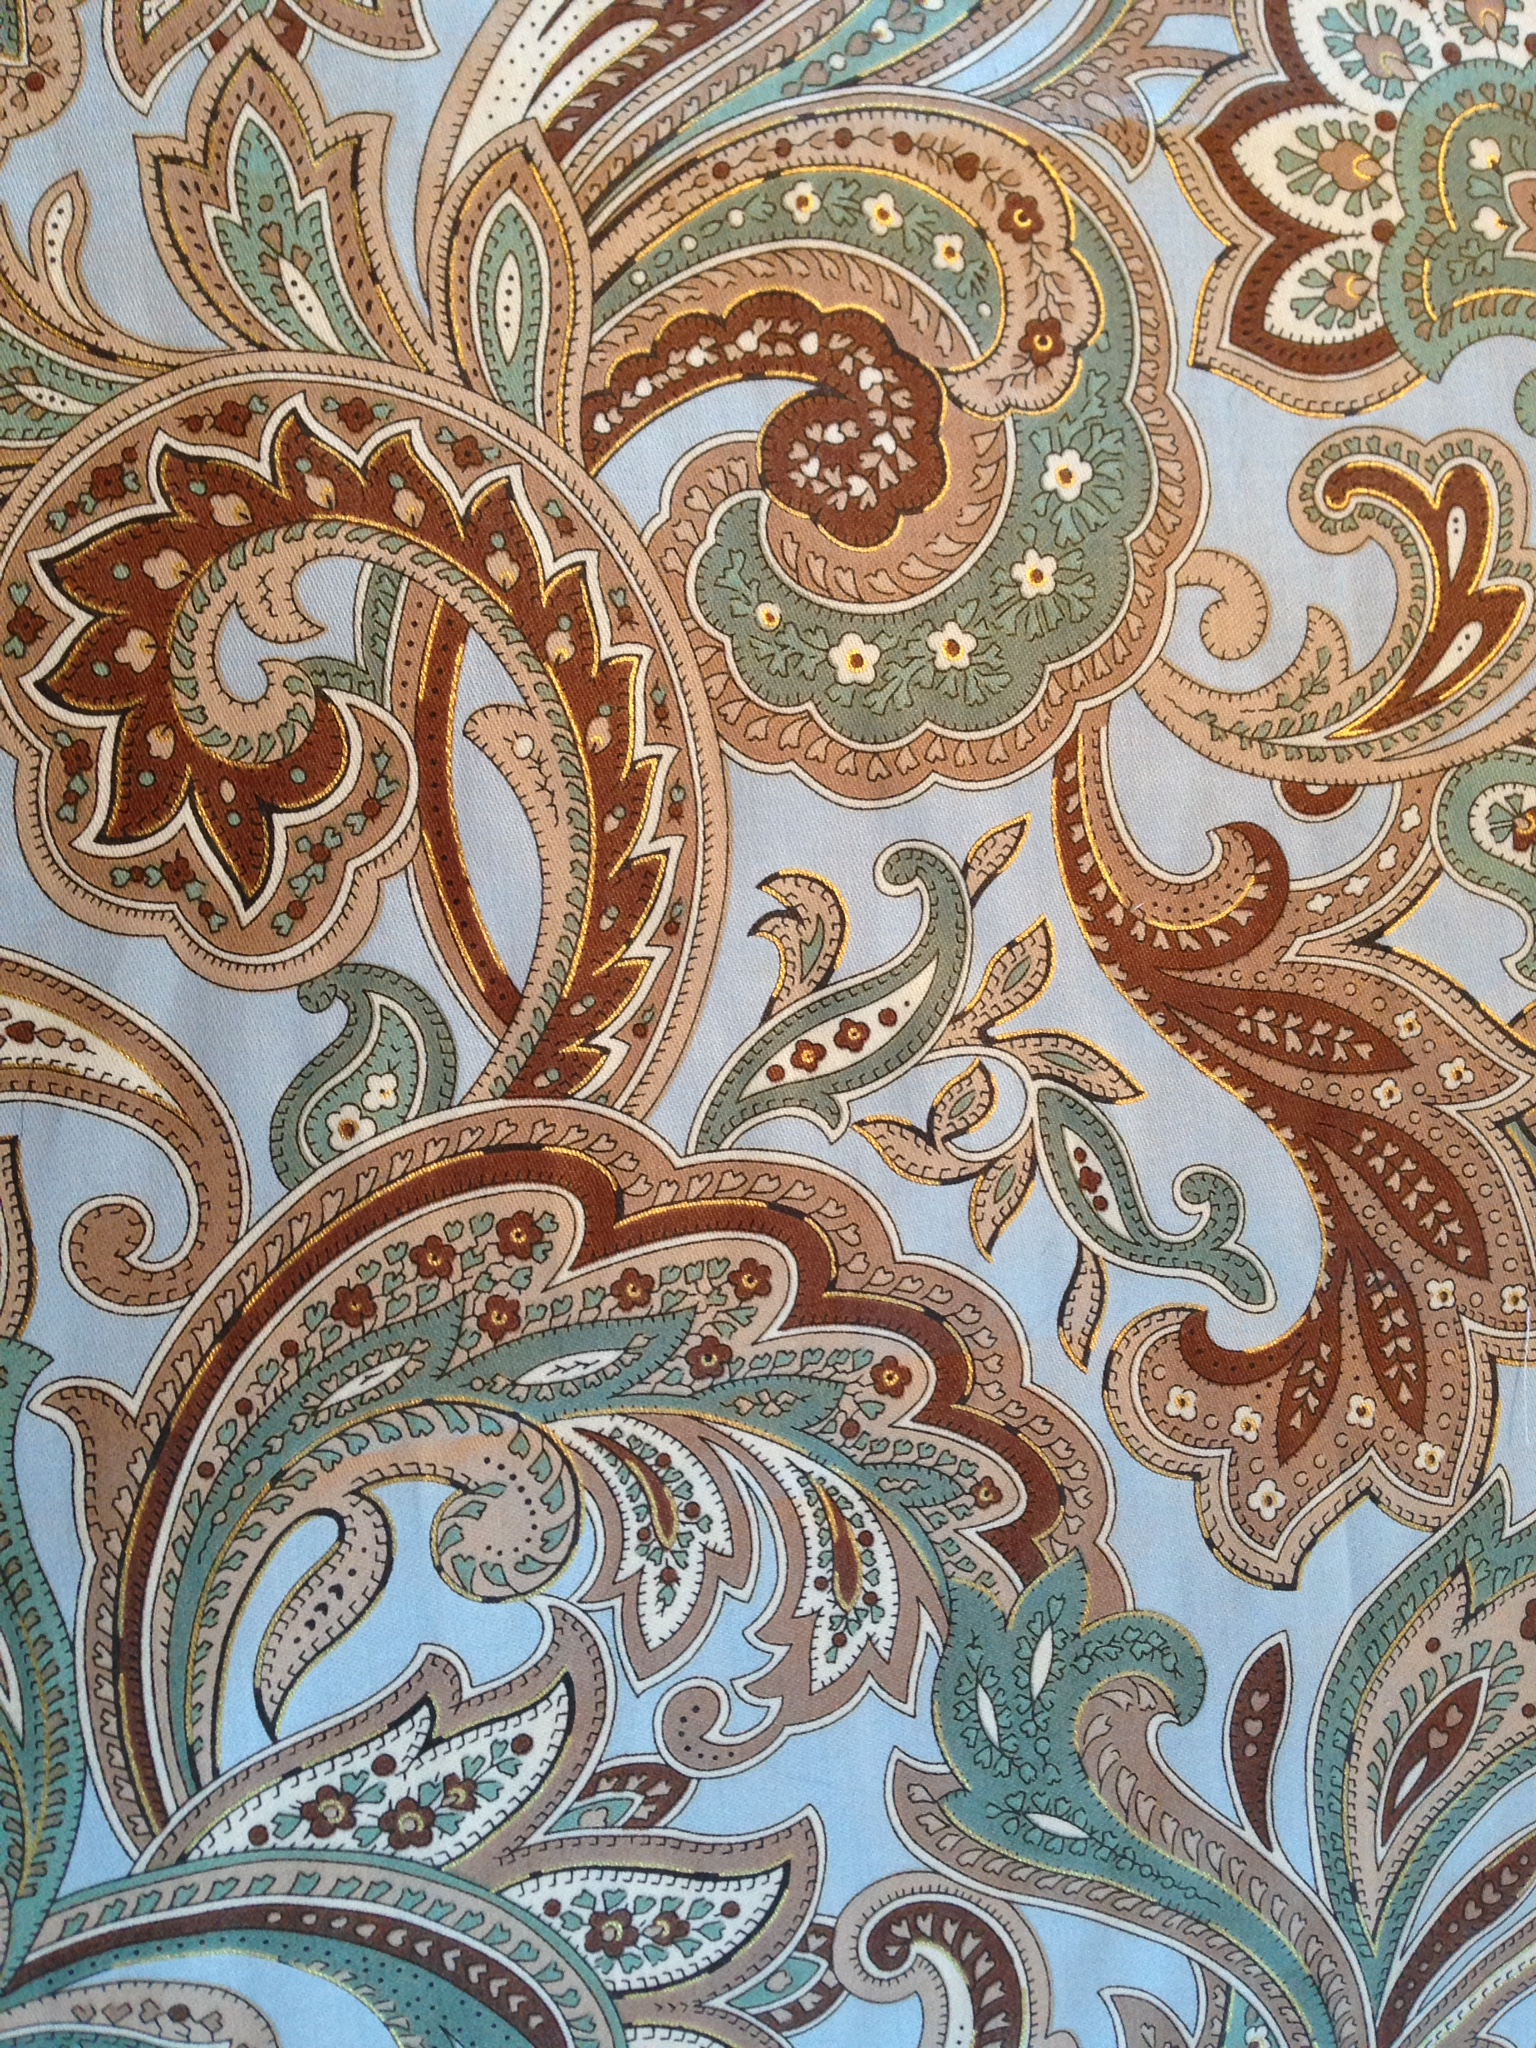
Before starting the cornice I made the shower curtain. A pretty straightforward sewing project, but one thing I have learned: Your typical decor fabric is 54-60" wide, which isn't wide enough so you have the sew pieces together.
The first one I made was for Sara's place last winter and I used just one seam in the middle. While it looks pretty good I found a suggestion that using three pieces of fabric and having your seams off-center turns out better. So, that's what I did. Button-holes at the top for the hooks and the shower curtain was done.
On to the cornice board!
Cutting the foam board was a pretty big challenge. I never did come up with the perfect tool. I'm sure it would be easier with the thin board. I tried a regular knife, an exacto knife and a box cutter. Whatever I used you had to go back over your cuts several times. Many of your guys have suggested an electric carving knife. Brilliant!
Once I had two pieces the height I wanted I Duct taped them together in the center. For photo purposes I wish I had used a colored tape, but oh well. Live and learn....
Since this thing was going to be pretty wide I reinforced by making X-s across the seam with the tape.
Then came the fun of getting it the right width. It was going be butted right up against the side wall of the shower, so that's a challenge Susan didn't have with hers. On top of that those walls are, of course, not square! So, I went back and forth several times shaving off little bits until I got it about right. Make note, I said "about" right.
It turns out I had two pieces about 2 inches wide that were just right for the sides. I really only needed the sides to have some way to attach this thing. I duct taped those suckers in place.

Then I covered it with batting. Some of the tutorials I had seen did the batting and fabric at once, but I lacked the confidence in my covering abilities to do that.

I got a pneumatic stapler for Christmas that I'm dying to use, but this project didn't seem the time to break out the air compressor. After all, I was only stapling on foam, and working in a small condo -- no garage or workshop.
Next the fun part -- covering with that beautiful fabric.
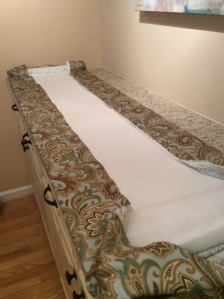
I stapled down the edges of the top and then made sure I was pulling tight as I stapled the bottom edge. Then the ends -- one at the time making sure to pull the last one tight. My corners are a little messy from the back, but I think they're fine from the front.
The last step was adding a little trim. I chose a brown braid for just the bottom and used "Fabri-Tac".
It's the first time I used that stuff -- it's pretty gooey. My technique could obviously use a bit of practice as I ended up with what looked like dead skin on my thumbs and fingers, but was actually Fabri-Tak.
I hung my shower curtain and then positioned the cornice and just nailed it to the wall. It's lightweight so I just used 4 nails on each side.

Ta Da! I'm pretty happy with the way it turned out. Now, I will say one thing. This is an older place and does NOT have a light over the tub/shower like most new places. So, can you guess what I'm getting at? Yes, it's a little dark in the shower, but hey! Who really needs to see what they're doing in there?
You've found an old post! Did you know we're food bloggers now?
Maybe you just came for the cornice board, but if you're a fan of food, especially Southern food, you're going to love what we've done with the place.


Susan says
Bravo! Very Professional!
Theresa Martin says
Georgeous love the pasley Fabric
Pam says
Thank you! I guess I never get tired of that color scheme.
TsB says
Wow, really looks good....
Couldn't you use a light weight MDF or plywood????
Just a thought, would be easier to cut to size with a jigsaw...
Love your work though!!! Looks professional.... ????
Pam says
Thanks! So many have suggested an electric knife for cutting. I think I would try that next time and use the foam again.
Jan says
Electric carving knife for any type stryo material.
If you wasn't to seal the ends, please be careful, but a quick really lightly run a lit bic lighter across the cut edges this seals the styrofoam so no little loose stryo balls fall. Just remember real light and quick.
Practice on junk piece first.
reba Becerra says
Great job. So professional looking.
Pam says
Thank you. Fun project!
Kathy says
Try using an electric craving knife to cut foam. It works great for foam for cushions.
Great idea, thanks for tut.
Tammy Thomas says
I think you did an excellent job on everything. Trying anything for the first time is tricky and doing it on camera is even more trickier. Congrats!!!
Robyn says
Would like to see what it looks like from inside the shower. Is it neat or can you see the raw board and fabric ends?
Thanks..love it!
Pam says
Thanks, Robyn! Because the shower curtain was hung pretty high behind the cornice you would have to be tall and on your tip toes to see fabric edges. I did this as a staging project, but if I were doing it as a permanent solution I would probably cover the cornice completely on the back. Thanks for stopping by!
Joyce says
Love this idea.....I have used the electric knife when I've cut foam...it works really smoothly...you did a fabulous job.....congrats.
Pam says
Thanks, Joyce.
Sylvia Rodriguez says
What is foam board and where do I purchase locally?
Pam says
Hi Sylvia, I'm not sure where you are. The foam board I used is the type used for school projects and you can get it at any hobby store like Michaels, Joann's or Hobby Lobby. My sister-in-law used a thicker insulation type board for her cornice. That type would come from a building supply place like Home Depot. Good luck!
Sylvia Rodriguez says
Thank you Pam.