
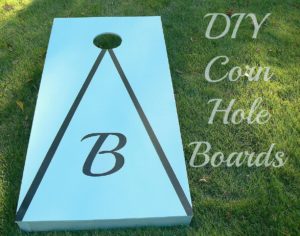
Turns out, building cornhole boards is a pretty easy and economical project. Buddy did the woodwork and I did most of the finishing.
Jump to:
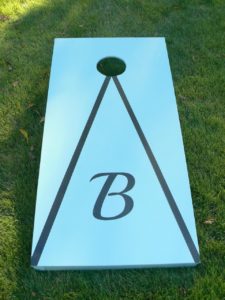
Regulation Cornhole Specifications
- Each board is 24" x 48"
- The top is 4" off the ground at the front and 12" off the ground at the back
- The cornhole is 6" in diameter
- The cornhole is centered 12" from each side and 9" from the top
These dimensions make for efficient use of the wood. Maybe the inventor of the game planned it this way?
Materials Needed
This post contains affiliate links for your convenience. Click here to read our full disclosure policy
- (2) Quarter pieces ½" finished plywood (2' x 4')
- (4) Select 2x4's 8' long
- (4) 5/16" x 4" Carriage Bolts
- (4) 5/16" wing nuts
- (8) 5/16" flat washers
- Wood putty
- 1-½" wood screws
- Kilz or wood stain (I used Kilz)
- Paint if desired
- Decals if desired
- Final Finish (Polycrylic semi-gloss is what I used)
Total Material Cost Approximately $45
Build the Boxes
- Cut (4) 48" lengths of 2x4
- Cut (4) 21" lengths of 2x4
- Nail (2) 48" to (2) 21" boards to form the box (make sure the 48" boards are on the outside) so you end up with (2) boxes 48" x 24"
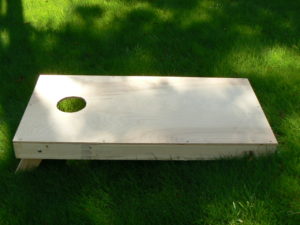
Add Tops to the Boxes
- Place the plywood on top of the boxes.
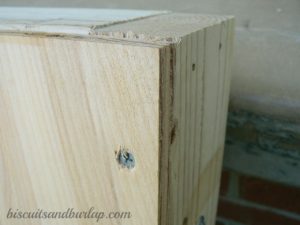
- Use 1-½" wood screws to secure the top, using the plywood as a guide.
- Recess the screws so you can fill the holes with wood putty.
Build the Legs
- From leftover 2x4's cut the (4) legs 11-½" long.
- Mark a spot on the flat side of each leg 1-¾" from one end in the center of the board. (the spot should be 1-¾" from each side and the end) Note: 2/4's are really 3-½" wide.
- Use a compass to draw a 3-½" half circle on one end of each leg.
- Cut with a jigsaw so that one end of each leg is rounded.
- Flip boxes upside down
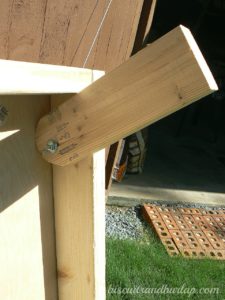
Attach the Legs
- Using two legs for each box, place the legs inside the frame with the rounded end towards the "top" of the box. (It's easier to do one leg at a time)
- Measure 33-⅛" from the outside of the bottom of the box. The flat end of the leg should line up there leaving about 3-½" between the rounded of the leg and the inside of the frame at the top.
- Clamp the leg to the inside of the frame.
- Mark a spot on the outside of the frame 4-½" from the top outside of the box and 1-¾" (centered on the 2x4) from the bottom of the frame.
- Drill an 11/32" or ⅜" hole through the outside of the frame and the leg.
- Attach with a carriage bolt, placing a washer between the frame and the leg and another washer with the wing nut.
If you don't have clearance to turn the legs up you may have to sand the rounded end.
Check the Height and Add the Cornhole
- Turn the box upright with the legs down and measure from the top of the back end to a flat surface. If you have a little more than 12" you can trim a little off the legs
- Mark a spot on the outside top according to the specifications above.
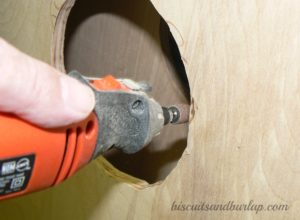
- Draw a 6" diameter circle and drill a starter hole on the inside edge of the circle large enough to get jigsaw blade through.
- Cut out the circle, rounding with a Dremel tool if needed.
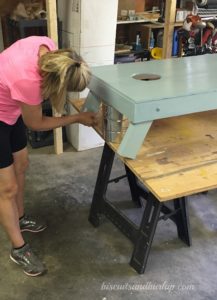
Finish the cornhole boards
- Sand your cornhole boards as needed, getting as smooth as possible and then clean with tack cloth, etc.
- Prime the wood if painting (we used Kilz) or stain
- Add decals or any decorative touches you like.
- Finish with a semi-gloss polycrylic or polyurethane.
Final Step: Have Fun!
Invite some friends over or load the cornhole boards up for your next tailgate party.
For a full list of Backyard BBQ Menu Ideas plus tips on planning, organizing and keeping guests involved and happy be sure to check this article.
Did you notice our shed in the background of these photos? We're still gathering inspiration for bringing it to its full potential of awesomeness. Ideas and suggestions are welcome.
Make sure you don't miss a project or recipe by getting our newsletter.
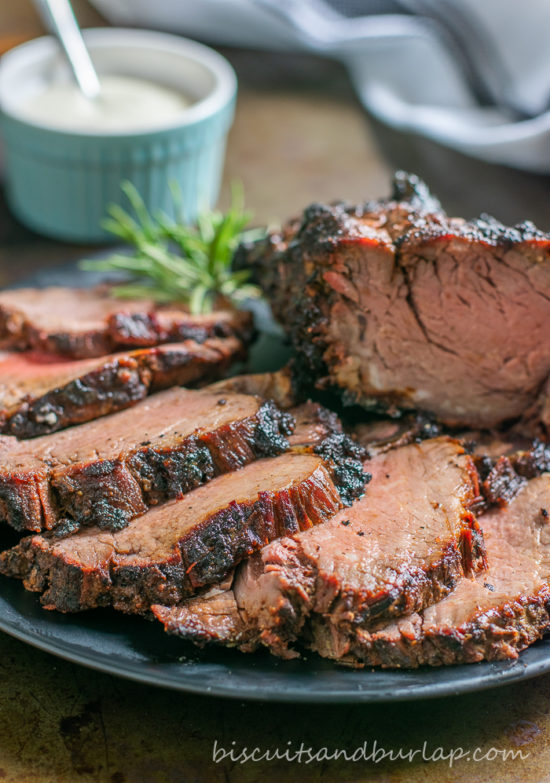
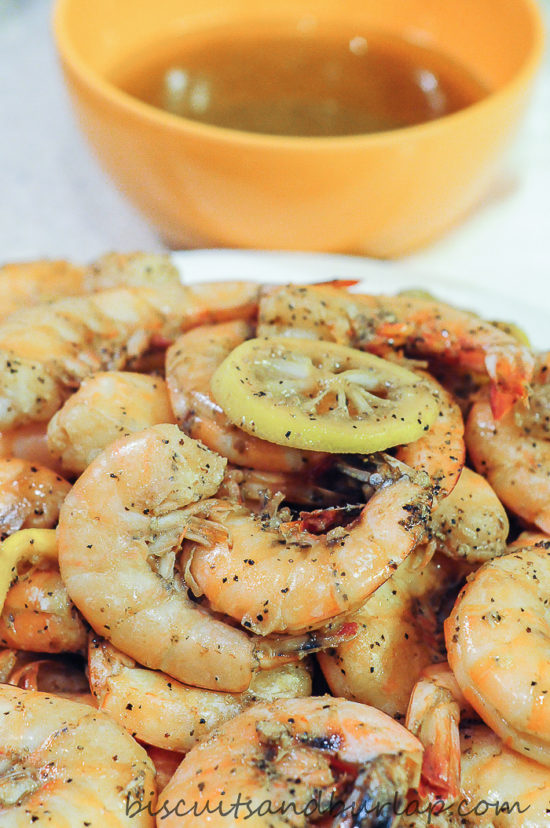
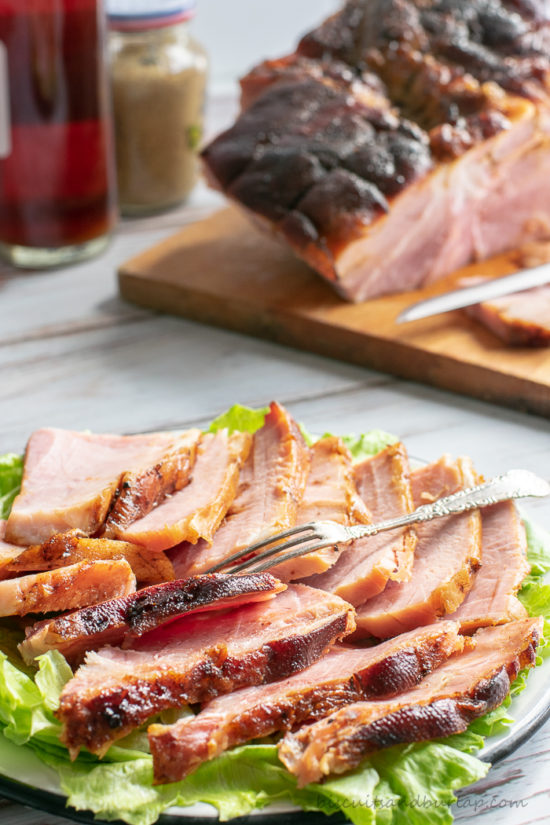
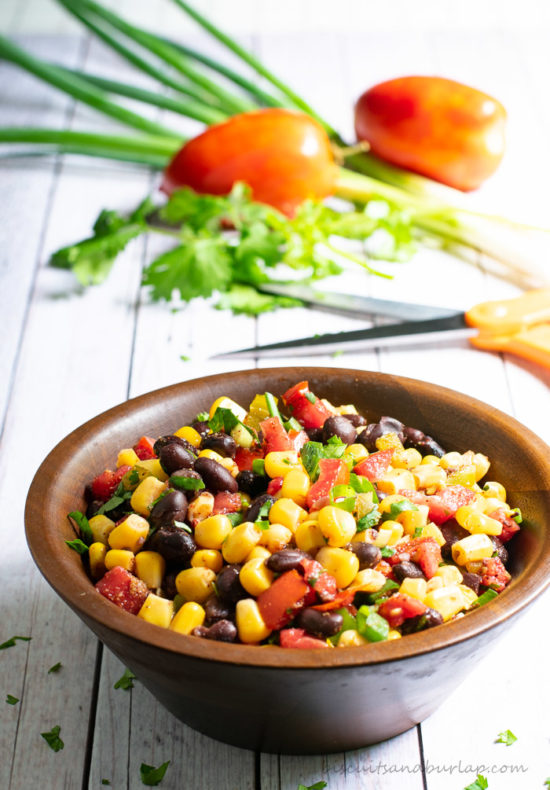
Wow, you found an old post! Did you know we're a food blog now?
If you love food, especially Southern food, you're going to love what we've done with the place! Check out some of our favorite recipes below.


Team Sports says
Cornhole boards are easy to create. The materials can be easily bought in hardware stores. You can also paint it with your own design, personalizing it and enjoying playing it with your whole family.
Pam says
Thanks. You are so right. We had a great time making and decorating ours. Thanks for stopping by.
Ellie Settlemyre says
My grandchildren would love this.
Pam says
We have so much fun with ours. Our kids and grands all love to play. It's a great family game.
Sandra says
Please explain how to play the game. I've never heard of this game before.
Pam says
Hi Sandra,
Cornhole is basically a glorified version of bean bag toss. Here's a link on how to play http://www.cornholehowto.com/how-to-play/. Thanks for stopping by!
Darla says
The Minwax Polycrylic protective finish (semi-gloss) I saw said for interior use only? Does it hold up to the weather?
Pam says
Ours has been fine, Darla. We store the boards in a shed, though, and only get them out to play cornhole.
rohit aggarwal says
thank you biscuitsandburlap for giving me wonderful information
Pam says
You are so welcome!