
So, by now, y'all have probably figured out that I'm all about reusing, repurposing, recycling around my house. I have certain items that I won't change in any way, but I'm usually game to figure out a new way to use something old, or economize on something new. Bring on the DIY framing.
When we moved into the new house I had some challenges. Some of the artwork (it's mostly photographs) just didn't have a good space, so I had to do some thinking.
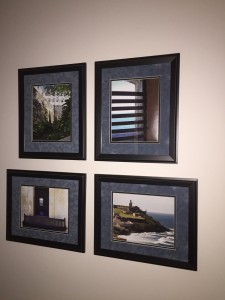
These 6 photos sort of tell our story. They include the place where Buddy and I met (gulf coast of Florida), the place where we were married, The Rankin House, in Columbus, Georgia. Now it's apparently called The Rankin Gardens & Atrium. Fancy, huh? Also, photos from two special trips and one from St. Simons Island, Georgia. We've both been visiting St. Simons our entire lives and it's one of our favorite places in all the world. Will and James were both married there, so we have those memories too. Finally, there is one from Murphy Family Farms, which is the site of the annual Cane Grinding. Read that story here .
I pulled the photos out of the archives (cardboard boxes) and had them framed to hang in the dining room of our previous house. It was a big room, with one wide wall and it needed something.
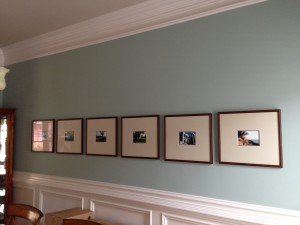
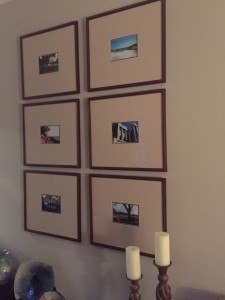
They were perfect! But, if you've followed the story of our move you know that we down-sized and went open-concept (jury is still out on that) so there are no wide walls like this. Our ceilings are a foot taller now, so this is how I used these. The large matts are really what makes this group stand out. And, visitors want to know what the theme is.
I read somewhere about cutting craft paper in the size of your frames and taping them on the wall in different configurations. If you think you like a layout just live with it for a few days. Then move on with your DIY framing project.
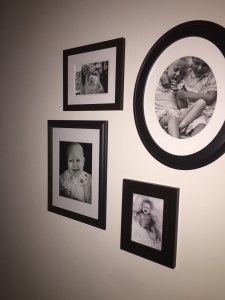
Soon after moving in we got these great pictures of two of our grandchildren, Beau and Paige. Our other grandchild, Emily, has had a ton of professional pictures made of her to be only about ten months old at the time. While I love each and every one there was something special about this one taken by her parents at the beach, so that was the perfect photo to round out my "Grouping of the Grands".
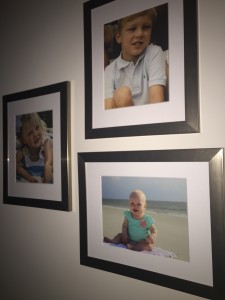
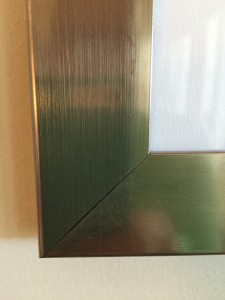
The grouping was to be on the same wall with this large mirror and I wanted to match or complement that brushed platinum type finish.
Now, I've got to be honest here. At this point my decorating budget was flat busted! So, I made the rounds to the craft type stores until I found these frames. With a coupon they were about $10 a piece. Add a plain, white mat for a couple of bucks and I've got a pretty cute grouping for under $40. Naturally, the subject matter in all three is cutest of all and PRICELESS!
Here's another recycled layout. These photos were taken a few years ago on a trip to Puerto Rico by Buddy, James and me. There were five, but no place to use all five in the new house. I also had two landscape oriented and two portrait. Again, I used the craft paper and eventually came up with this layout.
Black and whites of the kids with a mixture of sizes and shapes. I always loved that oval one. It had one of Sara's casual graduation pictures in it for about ten years.
These were over 25 years old and I don't think I used protective glass, so the photos had faded considerably, but the frames were a really nice, weathered wood.
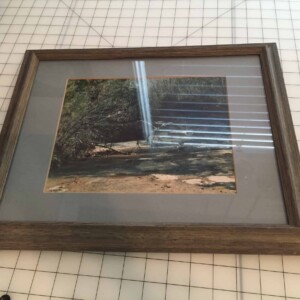
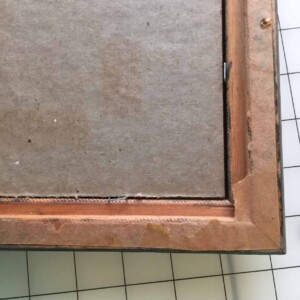
I guess there's nothing exceptionally creative about this, but definitely frugal! I cut into the back with a utility knife, though in some places they were so old the paper backing just crumbled.
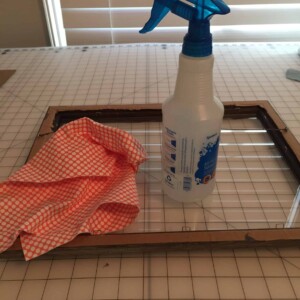
I pulled out the old mats and photos and gave the glass a good cleaning with a lint-free microfiber cloth on both sides.
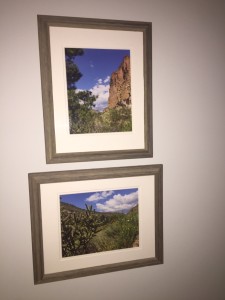
New white mats and two photos I took on our trip to New Mexico. Read about the trip here. It was so much fun and I couldn't believe these pictures turned out so nicely, taken with my phone.
I hope I've inspired you to re-think throwing away those old frames just because the space you have for them doesn't seem quite right, or the pictures they're framing have become dated.
I would love hearing what you've done, too.
See y'all next time,
Pam
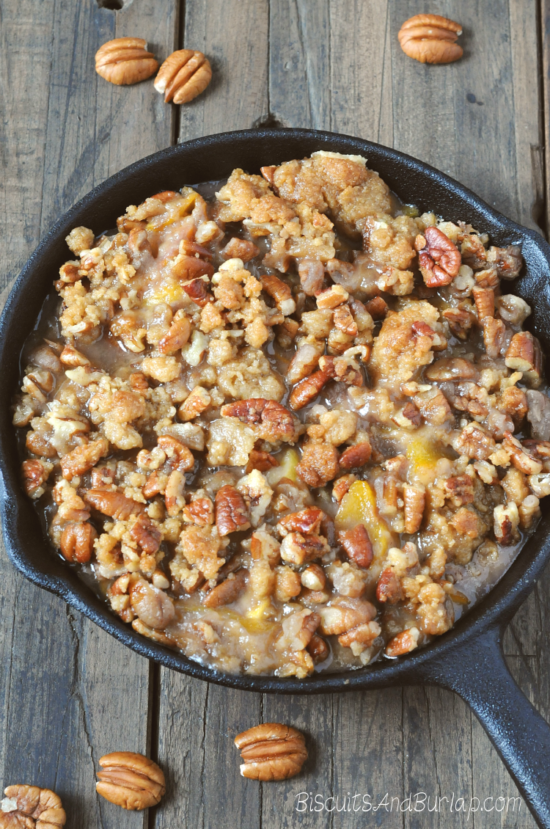
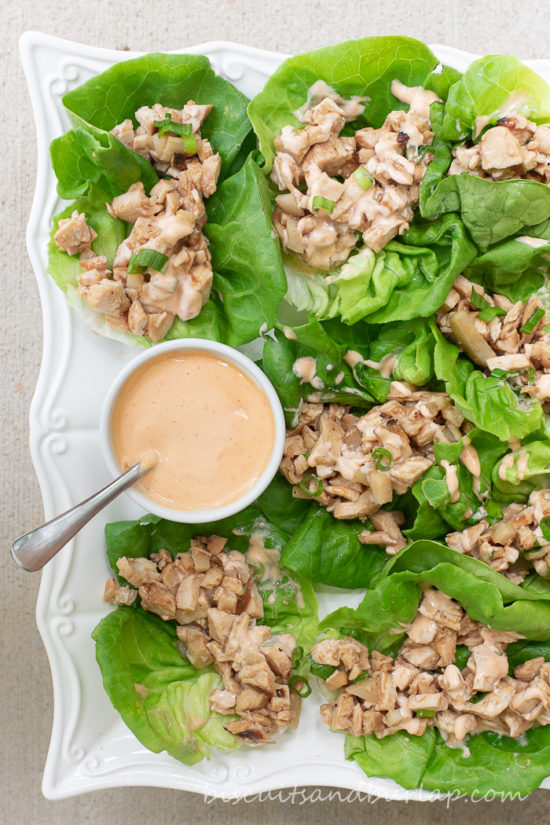
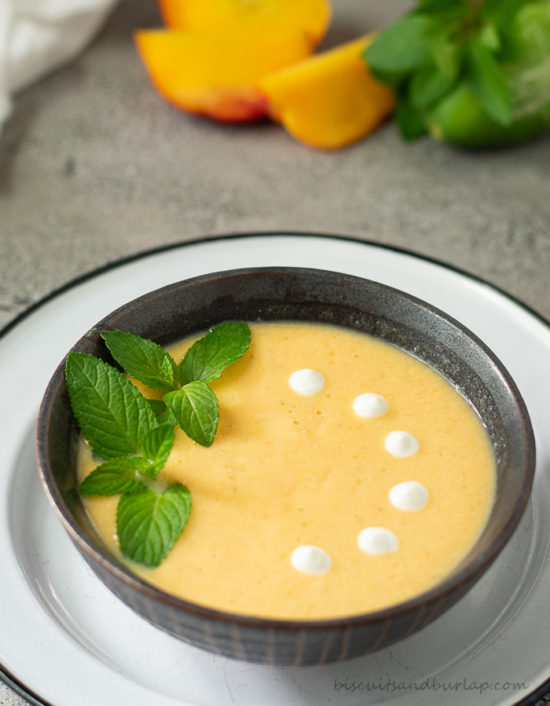
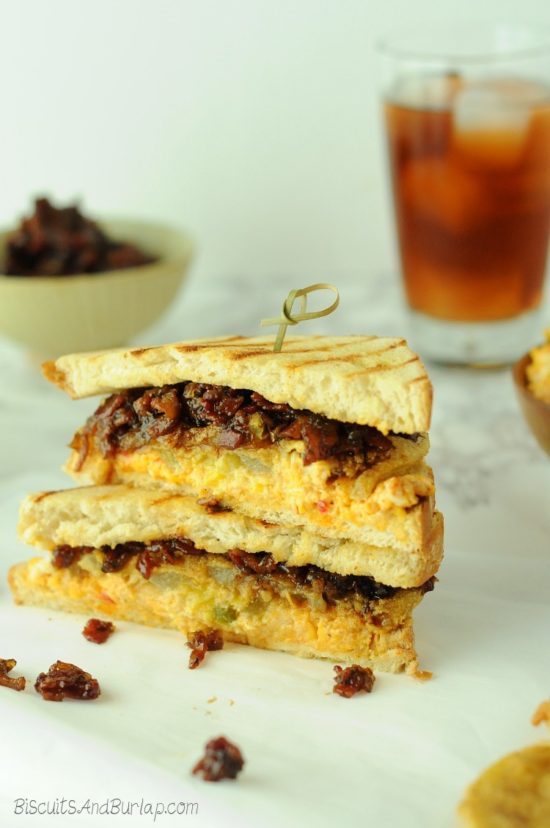
Wow, you found an old post! Did you know we're a food blog now?
If you love food, especially Southern food, you're going to love what we've done with the place! Check out some of our favorite recipes below.


Susan says
Love the groupings and the new additions. BTW, great article on Santa Fe too. Should we be anticipating one from DC? 🙂
Pam says
Oops! I was hoping to get in and straighten the picture of the grands before anybody saw it. ????
But, thanks! I'm sure there will be a D.C. post. Hopefully it won't be 8 months this time.
Sandy says
All the pics turned out beautiful! I love them all!
Gaga says
I've found lots of frames at Goodwill and Salvation Army stores. I also look for frames with non-glare glass, which costs more when bought new and looks much better. I've even spray painted mats that fit but were the wrong size.
Pam says
What a great idea to paint the matts! I would have never thought of that.