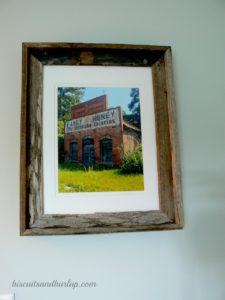
Here's the thing. I had a photo I wanted to frame and one of those open frames you can get at Hobby Lobby or Joann's. I also had a pre-cut mat. I thought this should be easy, but how do you seal the thing up in the back like the custom frame guys do?
Maybe I'm a lousy researcher, but I couldn't believe the lack of resources out there to answer that question.
If you have a piece of fine artwork or an archival quality photo or something that you want to be around for generations, then you're going to a custom framer and get a top quality job. But, that costs the big bucks. If you're like me and you've just got a nice shot you'd like to hang on the wall for a couple of years, you maybe want something nicer than an off-the-shelf frame but don't want to spend a lot of money.
This post contains affiliate links for your convenience. Click here to read our full disclosure policy.
So, I set out to figure this out myself.
Here's what I used:
- open frame ( I bought from Hobby Lobby. This one on Amazon is similar.
)
- pre-cut mat (This is a pack of 10 white ones
) I'm always needing white mats.
- glass to fit (I robbed mine from an old frame)
- foam board (I used ⅜" but you may need ¼" depending on the depth of the opening in your frame) This is a pack of 3.
- Kraft paper You can order a roll here.
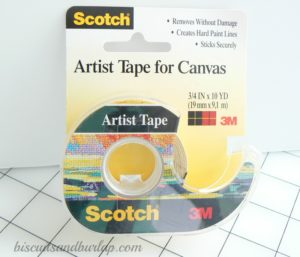
- tape This is what I used.
- hanger to go on back This is what I used.
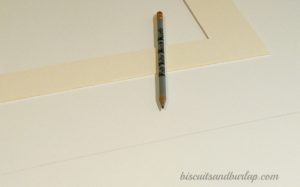
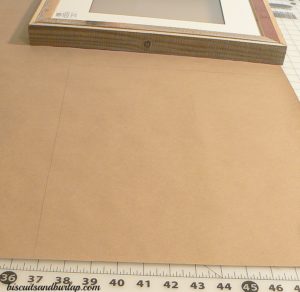
I used the mat as a guide to draw the outline on the foam board.
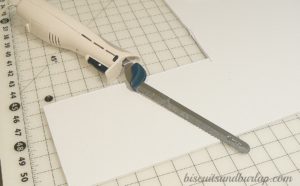
Then I cut the foam board. In this post I cut thicker foam board to build a shower cornice. It was a royal pain no matter what I tried and afterwards many readers suggested using an electric knife.
I'm a quick learner, right? So, the electric knife is the route I went. Turns out, since this board was thinner than what I had before the electric knife was overkill. The methods I used before (X-acto knife or box cutter) would probably have worked fine.
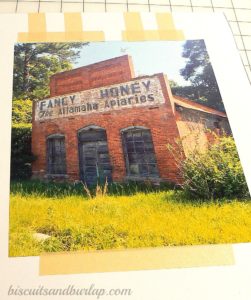
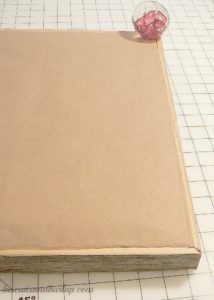
Center your photo on the foam board the best you can. Then lay the mat on top and make sure it's lined up like you want it.
Carefully remove the mat and tape the photo onto the foam board. What little help I found on-line suggested laying the tape out like this, so that's what I did.
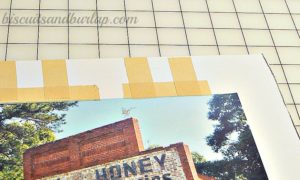
I just barely came along the edge of the photo and then made sure it was nice and smooth and I ran one piece of tape along the bottom.
This is the tape I used. Y'all may have a better suggestion. If you do, leave it in the comments, but this seemed to work fine.
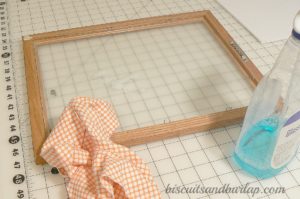
Now you need your glass in the frame. I have a stack of frames sitting in the closet because we have lots fewer walls than before (tour our house starting here and find out why). So, I just went shopping in the closet for a piece of glass to fit.
I cleaned it with glass cleaner and lint-free cloth (handle carefully) and then set it in the frame.
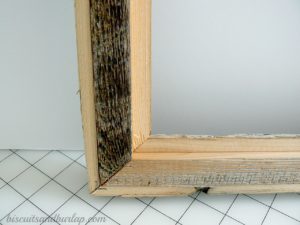
Lay your mat in the frame and then the foam board with your photo attached. Before you go any further turn it over and make sure you don't have anything you don't want between the glass and the mat/photo. For instance, in my case -- this rough barn wood frame splinters and yes, there was a splinter of wood.
At this point, how you finish up will vary according to the depth of the frame opening and thickness of your foam board. My plan had been to staple into the frame behind the foam board to hold it in place. But, as I used 3/16" board and the frame depth was shallow, I didn't have room for that.
If you're going to do a lot of these you may want to invest in this tool that is designed to shoot these little points into the frame.

It's the Logan Dual Point Driver and it's pretty cool.
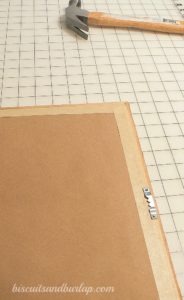
I wouldn't have had room for those either.But, my foam board was a nice, tight fit, so I just closed it up with a piece of craft paper.
I laid the frame on the craft paper and traced around it with a pencil. Then I cut the paper, coming in about ¾" from the line.
Tape it in place.
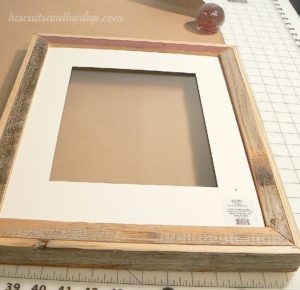
Then attach the hanger of your choice and hang your lovely work!
Now, y'all may have better ideas, and if you do, I'd love to hear them in the comments. Or better yet, write a dang blog post or pin something on Pinterest to help the rest of us out.
For now, this is all I've got! The full list of materials I used is above.
Are you subscribed to get our newsletter so you won't miss a single recipe or project? If not, do it now. Right here!
We'd love it if you check out the tour of our home

Some other projects you want to do -- I just know it.
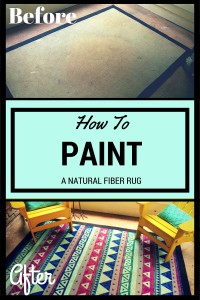
How to Paint a Natural Fiber Rug
Easy and Cheap Lampshade Makeover
Custom Adjustable Bed Skirt in Under 3 Hours

Wow, you found an old post! Did you know we're a food blog now?
If you love food, especially Southern food, you're going to love what we've done with the place! Check out some of our favorite recipes below.