
This DIY Lampshade was fun, besides being quick, easy and affordable.
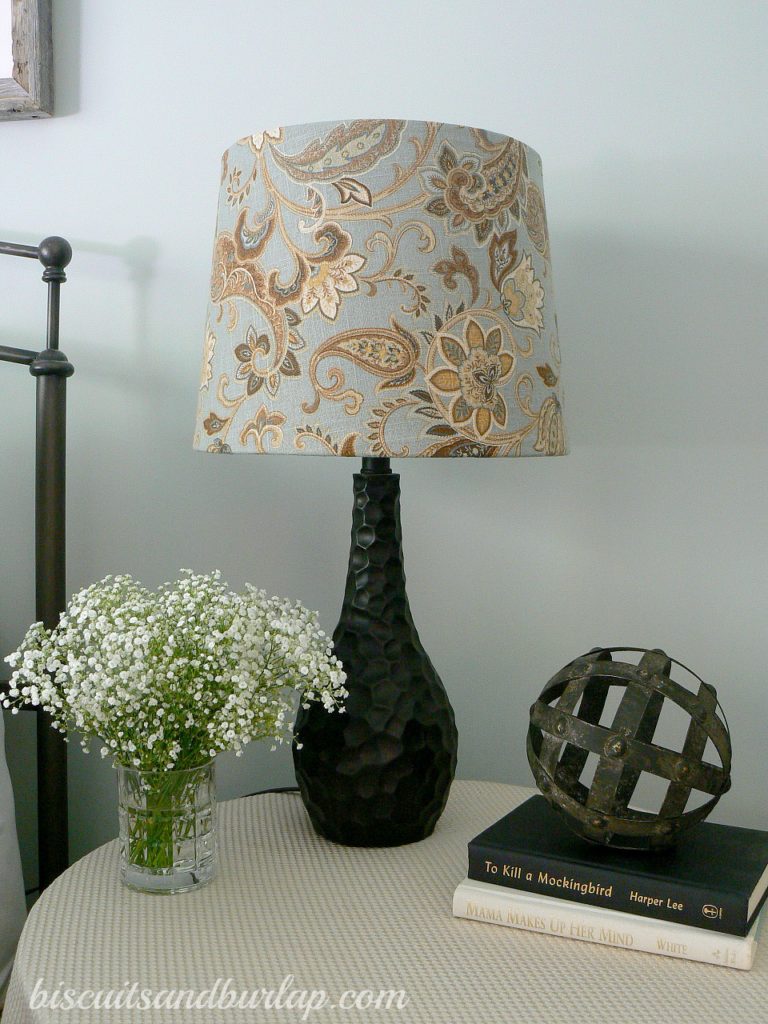
I like these lamps, but they needed a little pizzazz. I'm still working on getting our bedroom decorated and when I found this fabric I thought it would be a great way to tie together that awesome wall color (Sherwin-Williams' Sea Salt) with the rest of the room, and at the same time, dress up the lamps.
Since this was decorator fabric (bought from Joann's) it came in wide width. I bought 1.5 yards, but I could have done the project on two lamps with just a yard, or certainly 1.25. Affiliate link for your convenience. Click here to read our full disclosure policy.
Here's What You Need:
- Fabric (1 yard to 1.5 depending on the size of your shades. If you're only doing one shade you can cut the amount in half. (Fabric suggestions at the bottom of this post).
- Kraft paper to make a pattern
- Spray Adhesive (I used Elmer's)
That's it! Otherwise, a pencil and scissors and the shades you want to cover.
Here's How I Did It:
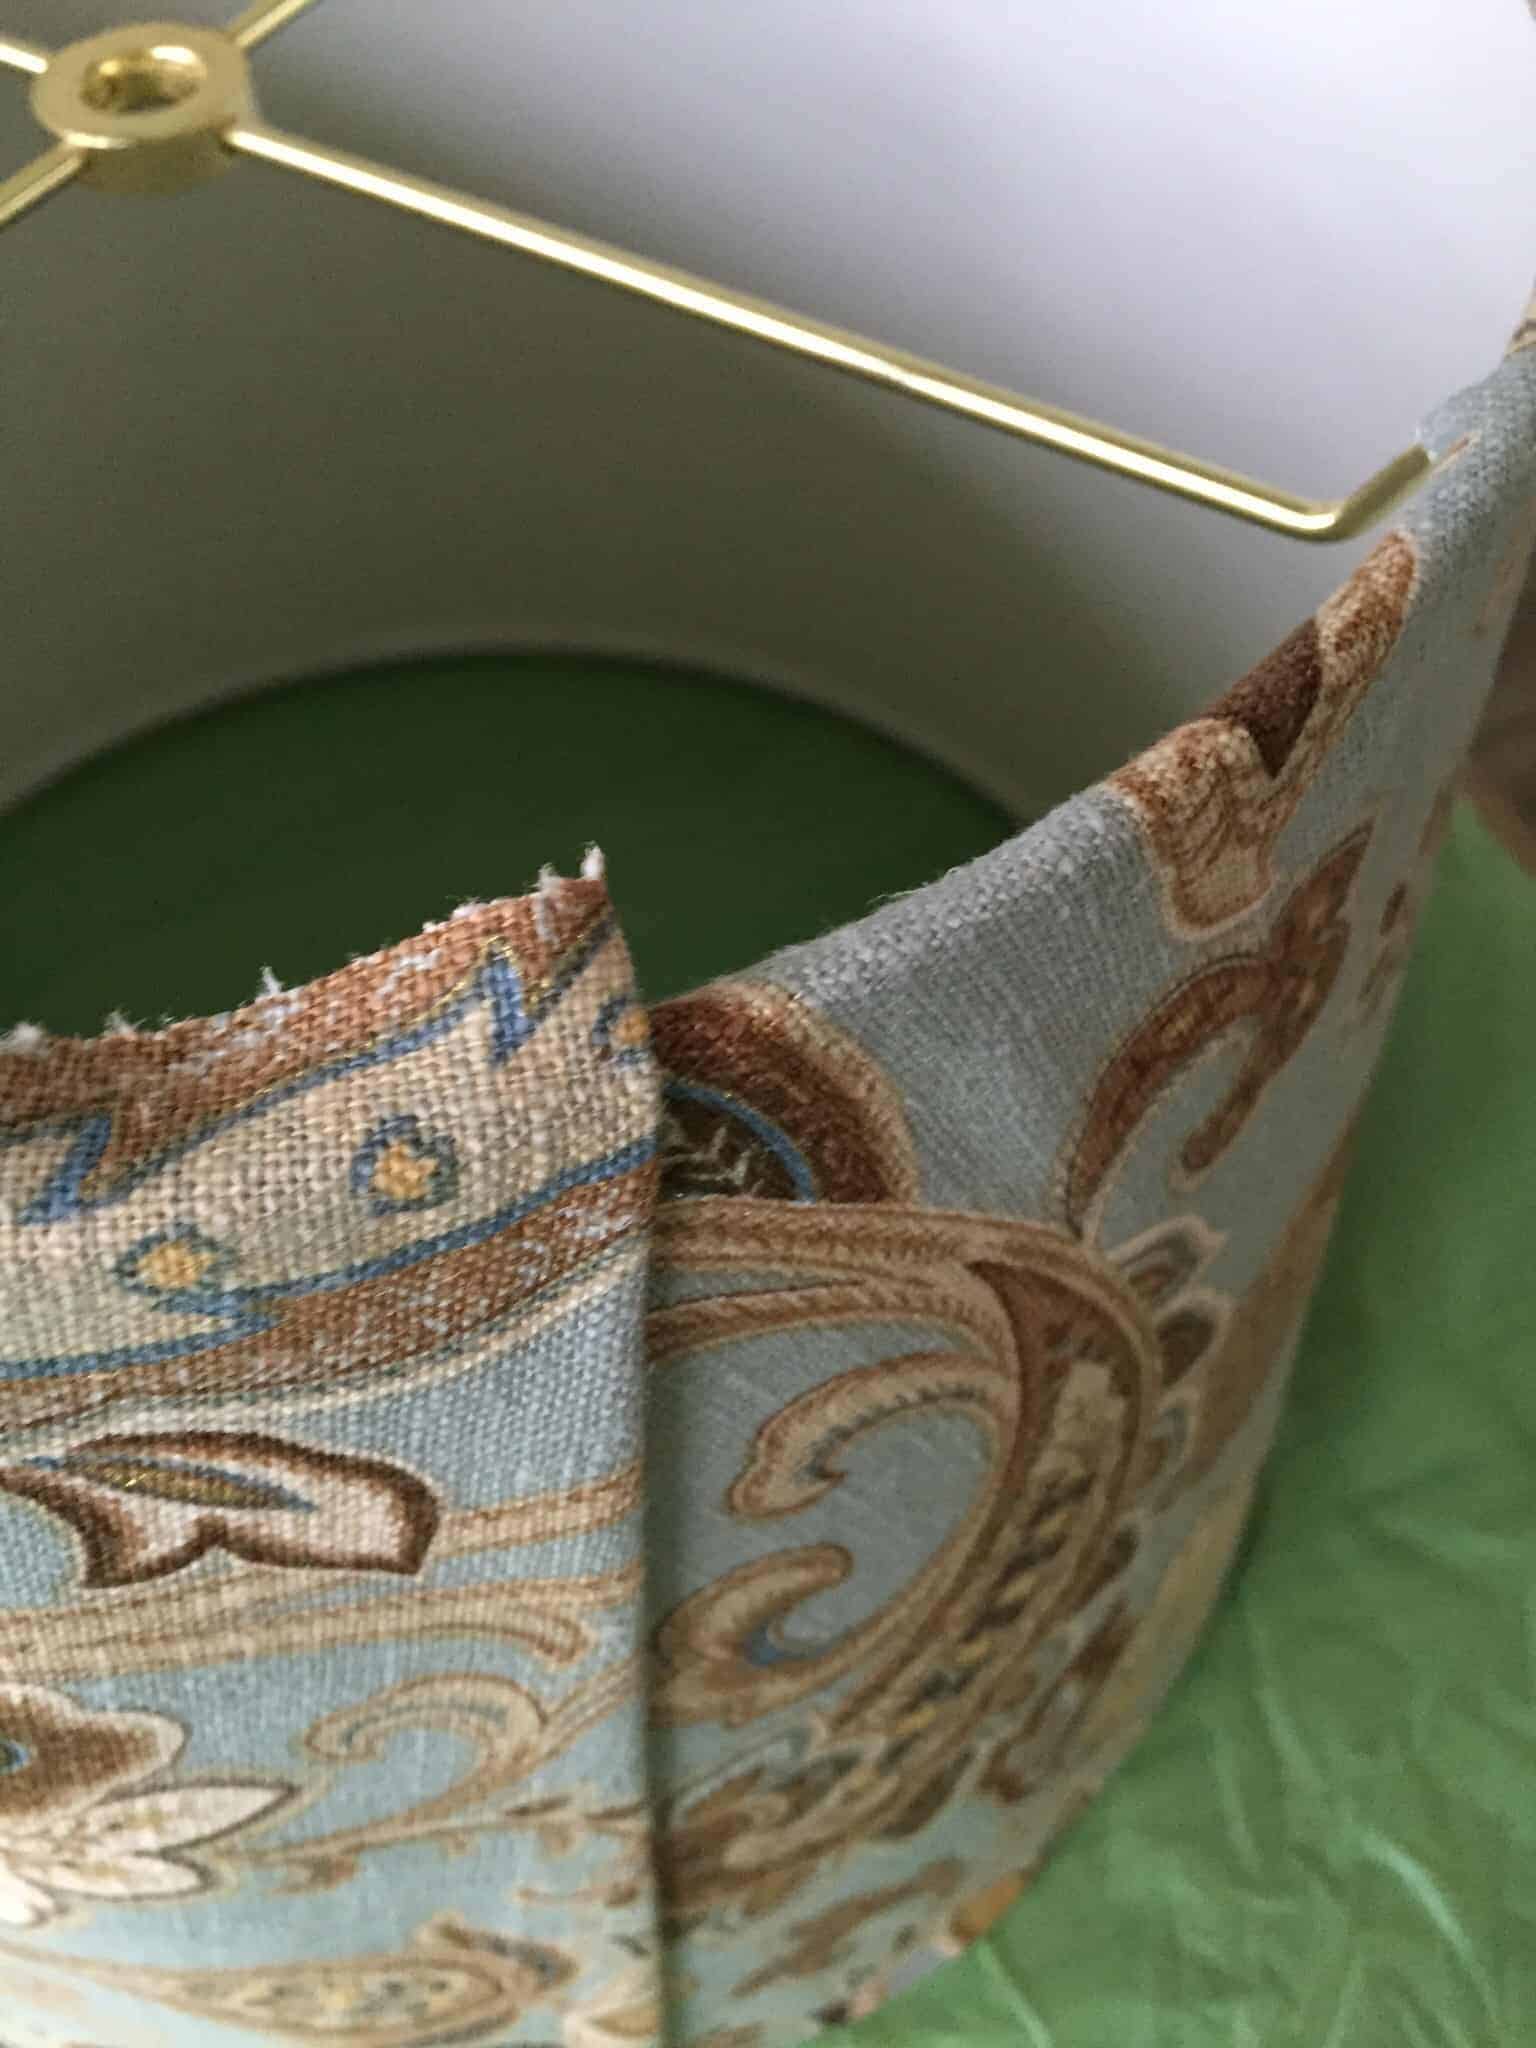
The first step is to make a pattern. Your fabric needs to be cut with a slight curve to fit the shade (unless you have a perfectly straight drum-style shade).
I took one shade off and laid it on craft paper.
Then I took a pencil and as a I rolled the shade I moved my pencil along the edge, first the bottom, then the top.


Add ½-3/4 inch at the top and bottom to give an allowance for rolling over the edge of the shade. I measured at about 5 inch increments as you can see at the top right of the picture above. Then I just free-hand drew to "connect the dots".
At one end add about ¾-1 inch to fold over and make a seam.


Then I cut out my pattern and laid it on the fabric and pinned it in place, then cut out the fabric along the edge.

I took the fabric to the ironing board and pressed the seam at the end in place.


Then lay your fabric out flat, wrong side up and spray with adhesive. I used this Elmer's stuff (order yours here) and I thought it worked just fine, but I bet there are alternatives out there that would work well too.
Okay, now comes the tricky part, but it was kind of fun too. First of all you want to start in the area of the original seam on your lampshade, so you don't have seams showing through in two different places when you're done. Then you must get your lampshade lined up just right to have the curve of your shade match up to the curve of the fabric. The good thing is, if you go a little ways and it's not lined up just right you can start over.
Once it's all the way around just smooth it with your hands so there are no bubbles under the fabric. The only thing left to do is fold over the top and bottom and press them into place.

I spent a total of about two hours (not counting shopping for the fabric) on this project. That's my kind of project -- instant gratification!

Before....
............................................ and After!
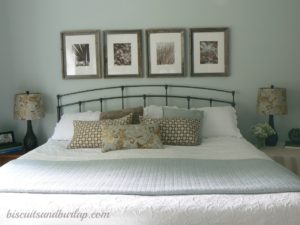
The Home Tour Part 3 includes the Master Bedroom
Don't forget to sign up for our newsletters right here!
I was really pleased with how these turned out, how easy they were to do, and how economical.
Let me know if you try it. I can think of so many places this would be fun (a kids' room, nursery, etc.)
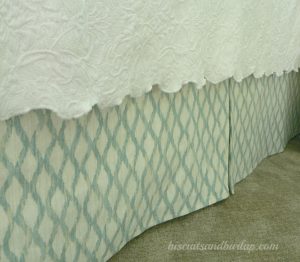
You'll love this DIY Bedskirt project. I made it in under 3 hours and it easily adjusts to the height of your bed.
Check out MY HOME TOUR here.
Sign up here to get all the latest from Biscuits and Burlap. We promise not to overdo it.
Wow, you found an old post! Did you know we're a food blog now?
If you love food, especially Southern food, you're going to love what we've done with the place! Check out some of our favorite recipes below.


Lily Becerra says
Wow, you make it look so easy, I'm tempted to try it!! Ty for sharing!!!
Janine Bost says
I did it well.Shade covers and bed skirt. I used the upholstery racks, much better hold!
I had a blast. I will include, rather send a photo when I find my phone Lol🤪
Kate says
So very easy and pretty, off to buy fabric tomorrow and make over my lamps. I am lucky they are drum shades so they are even distance which will make it so much easier for me. Thank you for sharing.
Mercedes Rivera says
I just covered two 'less than pretty' lampshades and love the result!!! THANK YOU!
Brenda says
the glue did not hold the part that u fold over on top. did anyone else have that problem?