
Includes easy to follow step by step instructions on how to make country gravy from scratch. Start with pan drippings from any meat and make deliciously simple homemade gravy.

If you've ever wondered "how do you make a scratch gravy?" then you've come to the right place. You'll be amazed at how easy it is and you'll never reach for one of those little packets again.
Let's start at the beginning.
Jump to:
The foundation of gravies: pan drippings
Do you know what pan drippings are? The little bits of seasoned goodness left behind when roasting or pan frying meat is what we call pan drippings.
In these photos we had cooked our favorite country fried steak recipe and what you see is what remains after almost all of the oil has been drained off. These are the pan drippings and is one of the key ingredients for gravy.
You could also make your gravy from a beef roast that has been cooked on the stovetop (pot roast) or in a roasting pan in the oven. Likewise, pork gravy is delicious made after cooking roasted pork.
Baked or fried chicken leaves behind the flavorful beginnings of homemade gravy too, as does a roasted turkey. With homemade sausage gravy you'll actually set aside the meat and add it back to the gravy.
Tomato Gravy is made rich and delicious by using the pan drippings from any breakfast meat - bacon, sausage or ham. Cajun Gravy and Chicken is made with Cajun/Creole spices left behind in the skillet where the chicken cooked. And Cajun Cream Sauce is made in the pan where fish (or chicken) was cooked. It's just called "sauce" instead of gravy, but the principle is the same. Our Creole Cream Sauce is similar to Cajun cream sauce, but it is made without pan drippings.
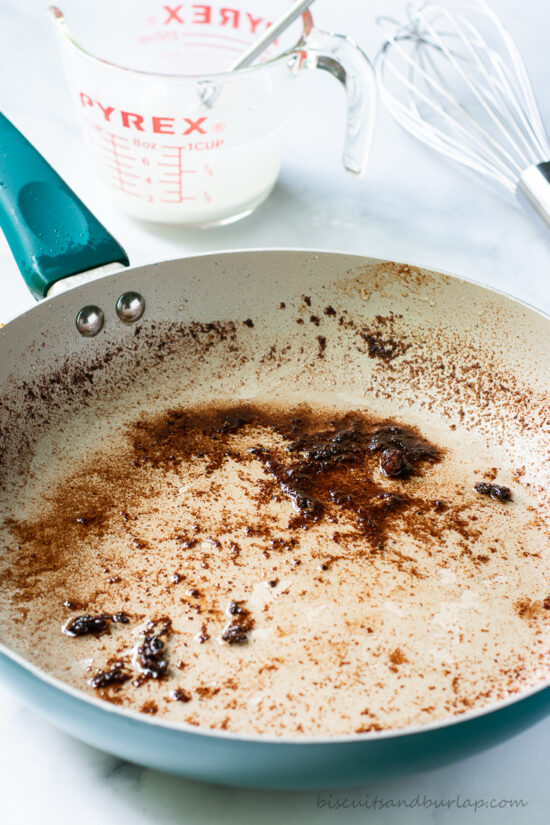
Maybe it's not the most beautiful sight to you, but we see lots of flavor in this brown "mess".
Step 2 of making scratch gravy
Next you will want to mix liquid and thickener. We used plain water in this illustration, but you could certainly make gravy from stock or broth. Do you know the difference? We have a post that explains what that difference is as well as how to make stock.
If you use chicken stock or broth (or beef) just be sure to check before adding any more salt. We don't want you to end up with gravy that's too salty.
If you like a creamy gravy you could use milk instead of water or stock. Or, use a combination. Try it different ways and see what your family likes best.
The thickener we always recommend is all purpose flour. We know that many people make gravy with cornstarch, but here in the south flour is king! We think cornstarch is actually too smooth. It's better suited for making sauces.
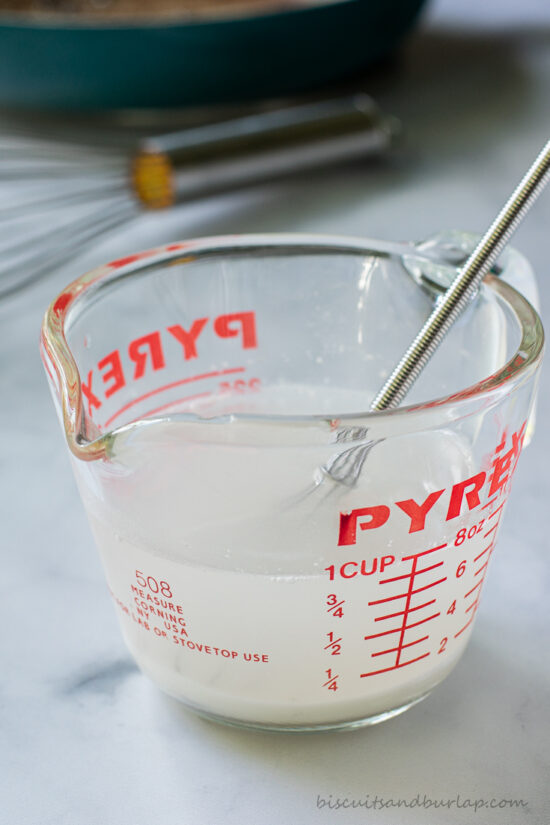
Mix the liquid and flour together and stir until no lumps remain. A good rule of thumb on proportions is about 2 Tablespoons of flour for every cup of liquid.
Two cups of liquid and 4 Tablespoons of flour should be about right for a 10-12 inch skillet or a roasting pan, but you can adjust to your needs.
This post contains affiliate links, which means if you click on an affiliate link and buy something, we may receive a very small commission. It does NOT result in additional charges to you or cost you anything extra. Click here for our full privacy and disclosure policy. As an Amazon associate we earn from qualifying purchases.
We recommend a small whisk for this task and this little tool will come in handy so many other times. If you don't have one in your kitchen, you may want to order one.
The next step in this super easy recipe
Add the combined liquid and thickener to your pan with the pan drippings. Letting the pan cool a bit prevents the gravy from thickening up too fast.
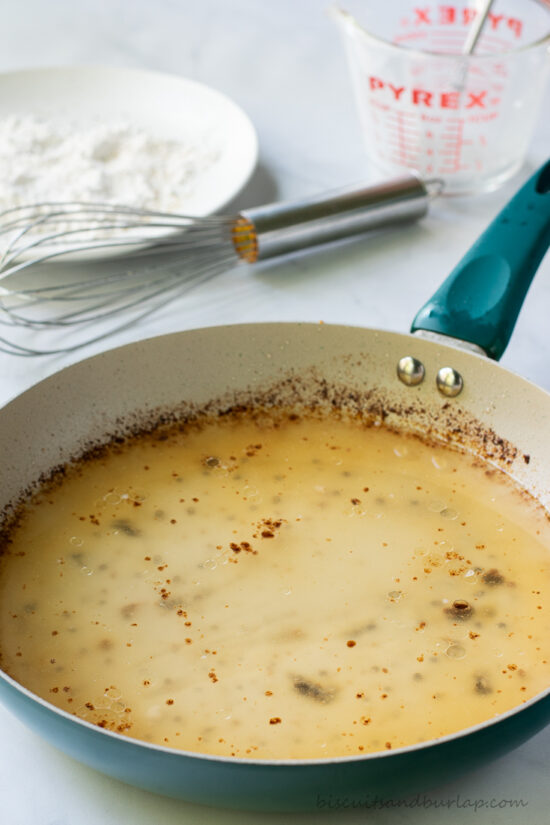
For the purposes of making sure you could see each step we made this gravy in a light colored non-stick pan. Typically, though, we would cook country fried steak or fried chicken in an iron skillet.
Not using a non-stick surface ensures even more flavorful pan drippings are left behind.
The last step in making gravy
Turn the heat under your pan to about medium and stir constantly. Be sure to get every little bit of pan drippings off the bottom and sides of the pan. A full sized whisk is a great tool to use here.
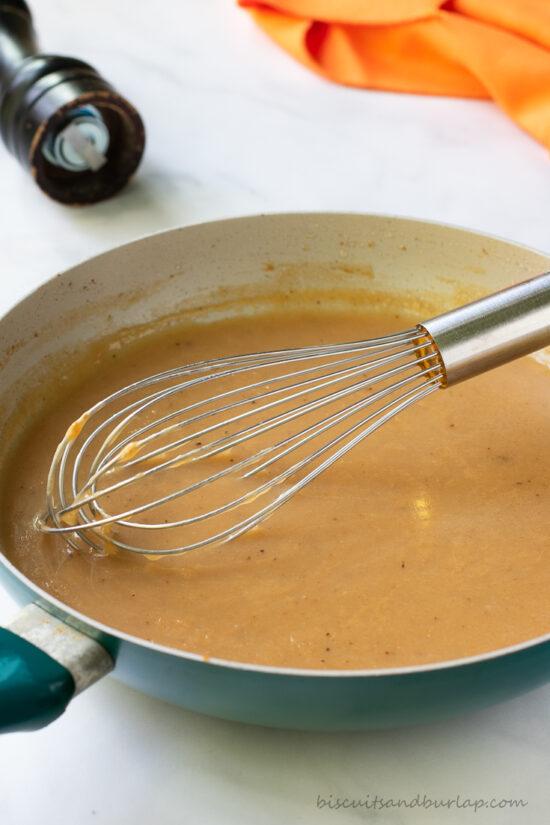
Keep stirring until the gravy has thickened. Depending on how fast your stove heats up this can take anywhere from 2 minutes to 7 or 8 minutes.
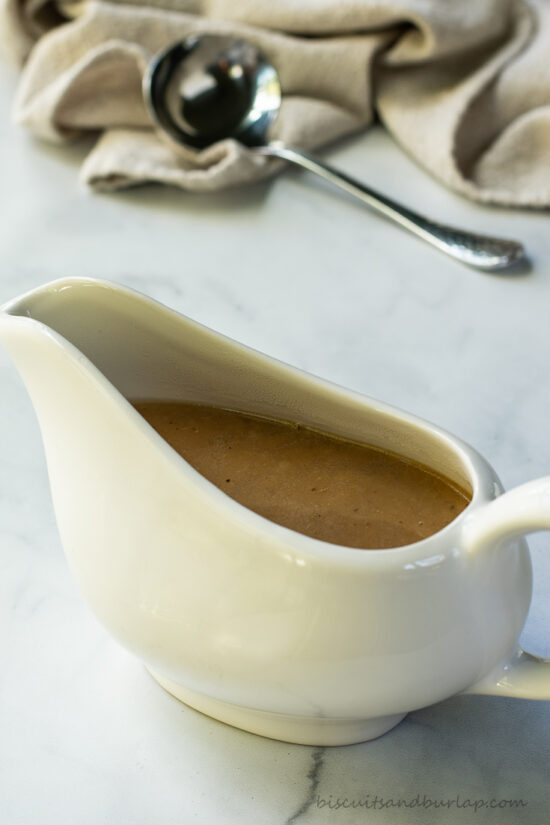
That's it! You've not got basic, flavorful gravy to serve with your meat, over mashed potatoes or rice, or over biscuits.
Our signature 3 Ingredient Buttermilk Biscuits would make the perfect place to spoon some of this gravy. That's the best of all worlds right there! It's also a holiday favorite when paired with delicious Fried Turkey Breast.
Can homemade gravy be made ahead of time?
A lot of people ask this question. The answer is absolutely yes! Gravy is perfectly fine made before you actually plan to serve it.
If it's going to be more than an hour or two it should be refrigerated. Then you can safely keep it for several days before serving.
When it's time to serve just heat it over medium low to low heat, stirring frequently. If it got a little too thick you can add water, stock, or milk a bit at the time until it's the consistency you want.
We hope you've found this recipe tutorial on how to make easy homemade gravy informative and helpful. It's not an exact science to be sure, so we've tried to include all of the tips and tricks to make sure your turns out great!
Gravy is not exclusively a southern treat, but it is well loved here in the south. For an in depth look at our favorite cuisine be sure to check out Southern Food: Then & Now.
📖 Recipe
Making Gravy from Scratch
Ingredients
- 1-3 Tablespoons pan drippings from cooking meat
- 2 cups water, stock or broth, or milk
- 4 Tablespoons all purpose flour
- salt to taste
- freshly ground black pepper to taste
Instructions
- Let pan with pan drippings cool.
- Mix flour and liquid together in a separate container and stir with whisk until no lumps remain.
- Add flour/liquid mixture to pan with pan drippings and turn heat to medium.
- Stir constantly, making sure to scrape bottom and sides of pan to incorporate all pan drippings. Stir in salt and pepper to taste.
- When gravy is thickened reduce heat to keep warm or turn heat off and reheat at serving time.
Notes
Nutrition

If you make any of our recipes we'd love for you to leave us a comment and star rating. If you're into sharing your creations, snap a photo and tag us when you post it to Facebook or Instagram.
More recipes to try


Dionne says
I have been looking for a decent gravy recipe for quite some time. Finally I've found the perfect one! 😉
Pam says
Yay! thank you, Dionne!